This project was so simple but came out so well. We bought a utility box with little compartments in, in South Africa you can get them at Crazy Plastics in a range of different sizes. We filled each little compartment with stickers, scrapbooking embellishments, washi tape etc. And then we personalised it.
Emma’s friend likes cats so it was easy picking a theme. And then I chose a fun font for her.
I searched Images for a simple image of a cat. This one peeping over something was perfect. To add it to your canvas, click on the canvas tab – new and then go back to your image and click the little + sign to add it to the canvas. Make sure you save your project – click on Untitled Project and save.

I measured the size of the box and the adjusted the size in design space. To resize it, drag the little block on the corner to increase or decrease.

Once you are happy with the size, click make and then choose whether you have a mat or not. The double check your design. If you are using a mat and cutting vinyl, make sure your piece of vinyl is big enough.

Connect your machine, feed the mat/vinyl in to be checked and then cut.
Once you have unloaded the vinyl, pull back the background to leave your design. Weed the little pieces out – the eyes, the nose and ears on this one.
Measure out your transfer tape, press it down and peel your design off. Place it on the box, press it down and peel the transfer tape off slowly.
Now for the text.
Create a new canvas, save it and then add text to your blank canvas

Write the text you want and then search the fonts on the left. The text I used for this project is BFC Lovers Heart. Adjust the text to be as long/short as you need it.

If you, like me, only have the smaller mat but need the words to be longer, you can rotate the words to make them fit on your mat size. If you have vinyl specifically for the Cricut Joy it is longer than the mat.

Unload and pull the background back. You will have to weed out the little hearts on each letter. Once you have done that. You can transfer it – same as for the cat. If you have tow pieces underneath like the image, cut them out and position them next to one another on the transfer tape.

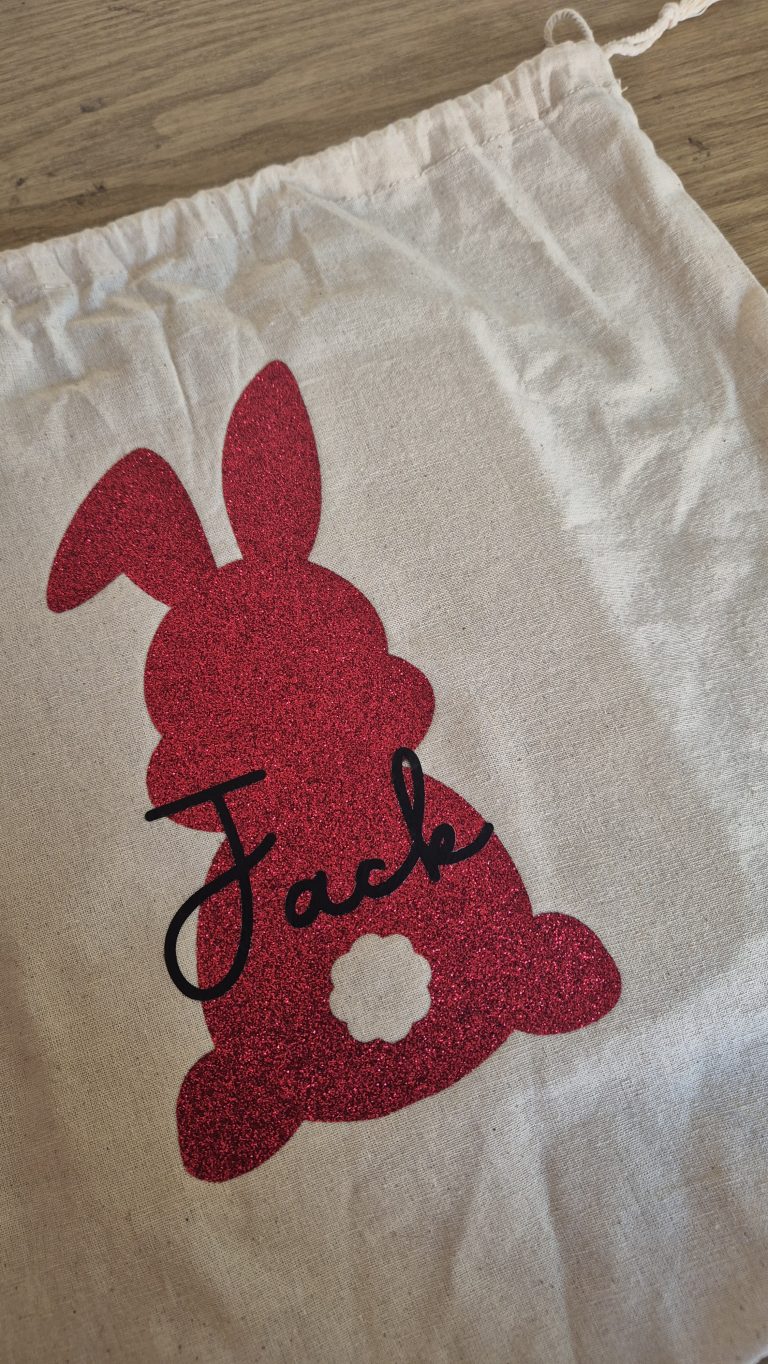
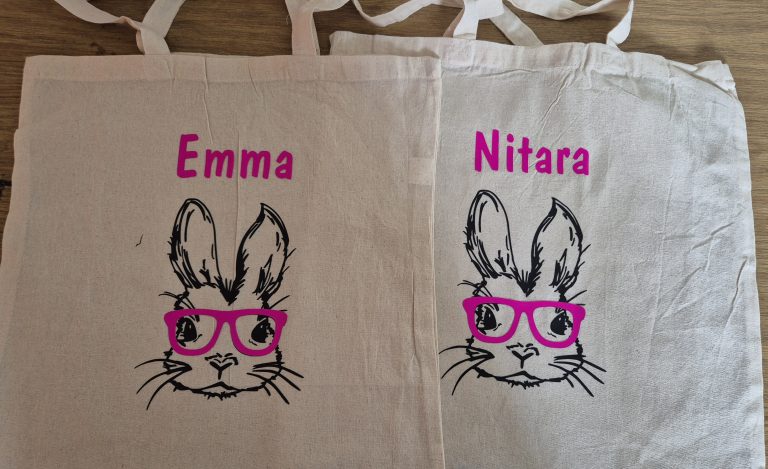
And voila you have a fun personalised gift that is super easy to make.


That is so cute!
Gorgeous and love those crafts boxes. I have some as well and use it for storing all my beads, and card craft stuff.
I found some incredibly gems at My Wee Abode, check it out if you haven’t already!
Here’s what I’m sharing this week: #37+38. Take a look!
Join the fun at #SSPS: https://esmesalon.com/tag/seniorsalonpitstop/